Blog
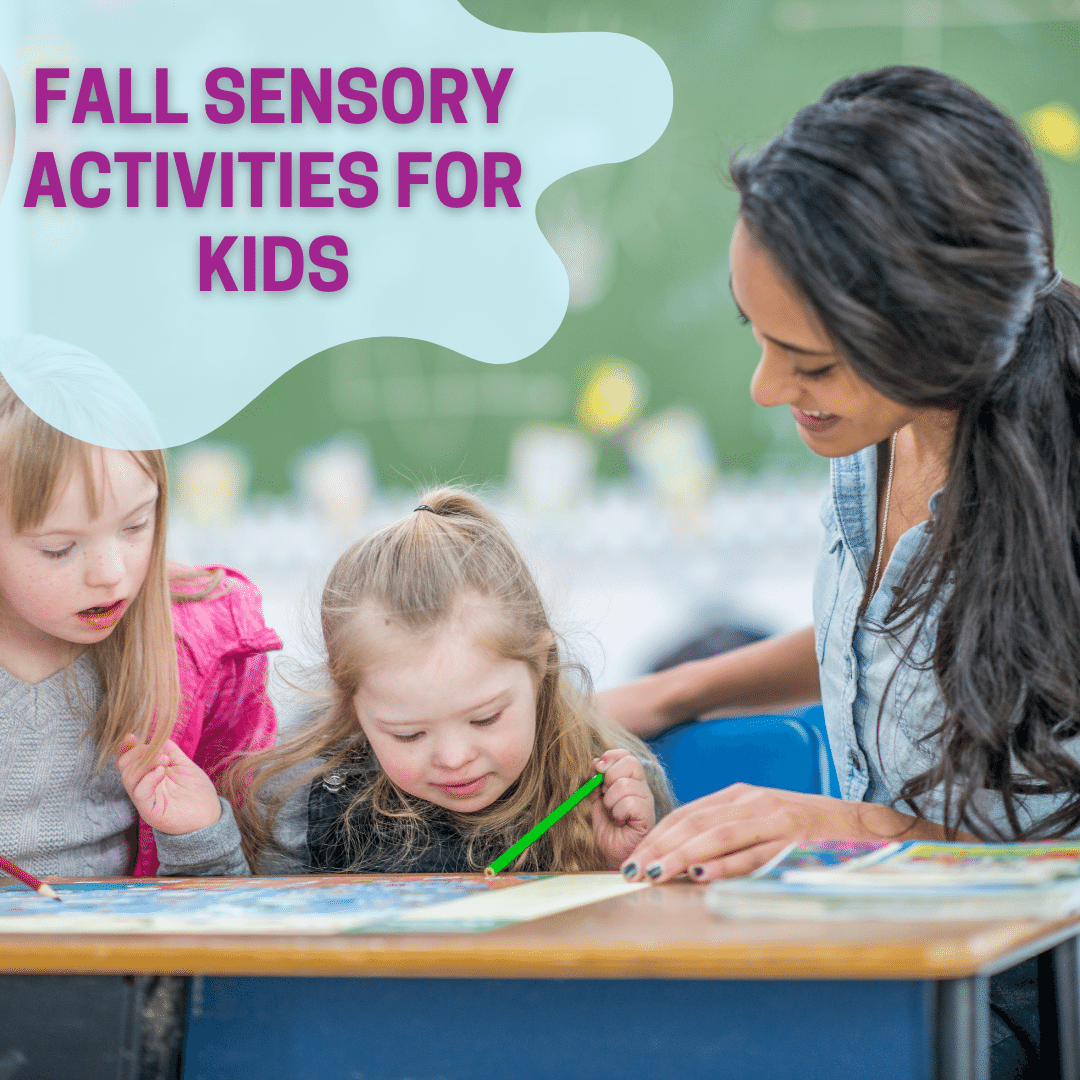
Fall Sensory Activities To Improve Sensory Processing
Inside is the new outside
Looking for Fall sensory activities to improve sensory processing? Too many people. Too many raindrops. Too much sun. Too much humidity. Too much…everything. So let’s talk about some fun sensory activities for days when you want to be inside. Working on art projects is not only entertaining, it also strengthens your child’s visual system, sensory and motor skills, and hand-eye coordination, as well as encourages creativity.Art projects using natural objects
Bring the best part of the outdoors inside with you — have your child turn nature’s fallen treasures into collages and other creations to decorate your home. Use materials collected on a previous hike or nature walk, or, if you have a yard, take a look around together and see what you can gather to improve sensory processing.Ideas for materials to use:
– Twigs, small sticks and branches (please don’t break any off; collect only what’s on the ground)– Leaves
– Flowers and petals
– Pebbles and rocks
– Pinecones
– You’ll want to have some arts and crafts supplies on hand too (feathers, pom poms, sequins, glitter, etc.)
Tools:
– Glue– Twine
– Ribbon
– Construction paper
– Paint and brushes
– Markers
How to make…
Bouquets
– Paint twigs, sticks and small branches in pleasing colors– Glue pom poms, feathers etc to them
– Arrange in an appropriately-sized vase or glass
Leaf collages
– Arrange whole and cut up (or torn) leaves on construction paper or card stock, and glue them down– Your child can use the leaves the way nature colored them and/or paint them in colors not found in nature — neon, perhaps?
Leaf and petal collages
– Again, arrange whole and parts of leaves on desired background; ditto for flowers and petals– Move them around until they’re “just right” and then glue them in place
– Once again, your child can use them as they are, and/or paint some or all of the pieces
Cards
– Fold pieces of construction paper or card stock in half– Use petals to decorate the fronts
– Add glitter glue, sequins, etc. as desired
– Tip: You can stick down a piece of clear contact paper, cut to size, on front of the card to keep the petals fresh for a little while longer
– Have your child write or dictate a message for someone special (it’s a good idea to do it on a part of the card without petals, in case they can’t be kept)
Build-your-own flowers
– Have your child use petals from different flowers to create a flower from his imagination– Arrange petals and/or pieces of petals into a flower shape on a piece of paper or card stock, then glue them down
– She can either draw a stem and leaves, or use pieces of real leaves to build her own
– Once again, he can also paint some or all of the petals and/or leaves different colors
– Tip: Remember that, like whole flowers, petals will shrivel and wilt, so you might want to take a photo of your child’s creation if you want to preserve it
Flower art
This blog post on Rhythms Of Play called Flower Nature Crafts contains links to many different kinds of flower art:Pet rocks
– Have your child use paint to turn small rocks into friendly animals or bugs– Choose rocks that are smooth and as close to oval or round as you can find
– Wash and dry them first so the paint goes on smoothly
– Your child can use colors and patterns to create different creatures; for example, lady bugs have polka dots
– Tip: Encourage your child to make up and name her own critters too: maybe adding black and white stripes to a bug turns it into a zebug (zebra bug)?
For some ideas on painting rocks check out Rediscovered Families post called Rock painting, and Crafts by Amanda's post called Painted Rocks and Rock Painting Ideas.
(These rocks are meant to be used as outside decorations — if your rocks will live indoors, you can modify the instructions appropriately)
Sensory bottles (using items both from nature and around your home)
It’s so easy! Your child simply adds his choice of items — from nature and/or from around the house — to a clear plastic bottle or jar of water.Recycle water, seltzer or soda bottles, peanut butter jars, spice jars, or any plastic container she likes (stick to plastic for safety) into these sensory experiences.
Your child can put in any items that strike his fancy, or he can make a sensory bottle with a theme specific to a season, holiday or other occasion. For example, for a summer-themed sensory bottle, she might choose baseball and bat mini erasers, a small plastic puppy figurine, a few legos, and some pebbles.
Perhaps your child would like a sensory bottle with all the items in his favorite color or colors. (Tip: If you can’t find enough objects in one color, paint some more!)
Or, a bottle with all the same item in different colors and sizes, such as buttons or beads, would look great.
How about a magic vial with glitter, sequins and tiny colorful pom poms? Tie a ribbon around the top for extra magic!
Ideas for items to add to sensory bottles:
– Flowers, petals, and pebbles from a nature walk or your own yard– Glitter
– Confetti
– Sequins or anything else shiny
– Pom poms
– Beads in different colors and sizes
– Buttons in different colors and sizes
– Water beads
– Legos
– Small toys or figurines
– Miniature erasers
– Anything small enough to fit through the opening!
Options:
– Add a few drops of food coloring or watercolor paint to the water– Add vegetable glycerine to the water to make everything flow more slowly — the more drops of glycerin, the slower the flow
How to:
– Fill bottle (or other container) halfway with water– Add food coloring if using — just a few drops; you can always add more
– Put the cap (or top) on, and shake the container to mix
– Add glitter, then everything else you’re putting in
– Add glycerin if using
– Fill container with water almost to the top
– Put the cap back on tightly, and give it a few good shakes
– Watch the magic happen!
Tips:
– Be sure to clean the bottle well or else you may end up growing mold, which is a completely different sensory experience!– To remove the label and its sticky residue, use Goo Gone, Goof Off, or a similar product
– Use smaller bottles if you are putting in heavier items
– Anything metallic or magnetic will rust
– Glue the lid shut and check it periodically
More ideas:
If sensory bottles fascinate your child and you want to explore different kinds, Check out Rhythms Of Play's blog post titiled Nature Inspired Sensory Bottles for more inspiration.I hope this post on Fall sensory activities to improve sensory processing.
Feel free to share or quote from this blog (with attribution, please, and if possible, a link), and to repost on social media.
All the best,
Miriam
Don't want to miss a Thing?
Follow us on Instagram, Facebook, Youtube, and Pinterest to get updates and stay in the loop!
Other Post You May be Interested in: